A new insight from our frequent correspondent begins:
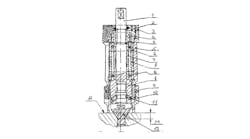
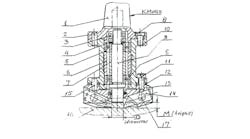
“Some times we need to machine or countersink holes with accuracy that keeps the dimension M of the plane A. in these cases, we use a countersink assembly with a stop mechanism, as shown in this sketch.
“The drive takes its rotation from the spindle of a drilling or milling machine via axle (1), which is mounted in the housing (5), with two angular or annular ball bearings (6) and bushes (7 and 8) fixed by two nuts (4) on the axle (1).
“All these details are fixed in the housing (5) by the nut (2) and the lock nut (3).
“From the bottom end of the housing (5) we mounted a ring nut (10) and a lock-nut (9), which can be used to adjust and correct the height and dimension M of the chamber to the plane surface (A).
“On the bottom of the axle (1) in the thread hole we mounted an adjustable countersink (12) and fixed it by three or four screws (11).
“When we chamber machine by countersinking, the ring nut (10) reaches the dimension M and stops moving downward, after which the machinist will end the operation.
“The ring nut (10) must be heat treated, and the bearing must be prepared with grease and field packing.
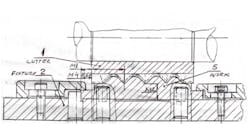
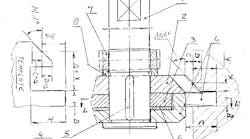
“Note, also, that the dimension (M) is set up by using a template.”


