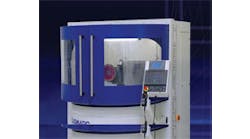
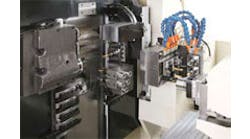
NVision (www.nvision3d.com) has developed a turnkey noncontact inspection system, and now is making it available in North America.
The company’s Maxos inspection is designed to compete with coordinate measuring machines. Nvision said its system is more accurate, and faster than traditional CMM s.
The Maxos system includes a non-contact light probe, a bridge or horizontal gantry, a turntable option, installation, custom programming, training, and maintenance.
The system is designed for automated high-speed production inspection, and the company said it can inspect polished and unpolished metal, plastics and glass. It is designed for applications such as turbine blades, impellers and other components for pumps as impellers, medical components and other high-precision components.
Nvision said its Maxos system is an optical system that collects individual inspection points at a rate of 100 per second. The company said by measuring with a single point of light, the system eliminates inaccuracies that are inherent in contact measurement on very small radii or extremely sharp edges. Additionally, because the Maxos has no ball probe and is not limited by ball-offset geometry, the company said it can inspect radii of less than 0.1 mm (0.003937 in.).
NVision said the Maxos system provides accuracy of +/- 2 μm (0.0000787 in.) on matt surfaces and +/- 10 μm (0.0003937 in.) on polished metal. It can achieve a point spacing resolution of 0.2 μm (0.0000079 in.) without pausing.
Also, Nvision said the MAXOS system can measure highly polished surfaces and mirrorfinished surfaces without a coating. Coatings introduce dimensional inaccuracy, take time, and raise the risk of contaminating the work environment.
The MAXOS system uses as many as seven axes, all of which can be controlled simultaneously to allow points to be measured on difficult horizontal geometry and blade platforms. The system creates its own alignment for the measurement of a part based on an alignment file which typically compares cross-sections and features to a pre-defined design intent. A complete inspection report is output in real-time at the end of the measurement routine.
