Transmission builders are under constant pressure to reduce noise and vibration, to enhance the ride quality and fuel economy. The twist and crown of the involute profile contributes to transmission error and thus potentially to gear noise. Often these errors are not recognized under American Gear Manufacturing Assn. standards due to the way the quality is specified, and typically quality-conscious suppliers address them during manufacturing.
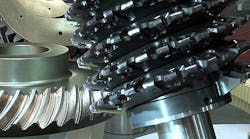
A ground gear can be made to the highest quality but the twist remains because it is a trigonometric certainty based on the amount of lead crown and method of grinding.
In order to eliminate twist and crown in the final gear grinding operation, a bore-to-face perpendicularity of fewer than 10 microns is critical, as the gear is piloted off of both face and bore.
In the past it was typical for such gears’ faces to be “double disk ground.” But, a double disk grinder does not impact the necessary bore-to-face perpendicularity, as it basically carries it over from the prior operation. This process yielded about 0.025-mm bore-to-face perpendicularity, which is insufficient to control involute twist and crown.
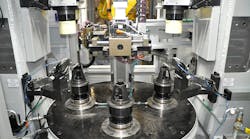
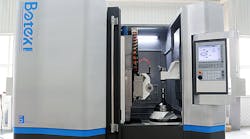
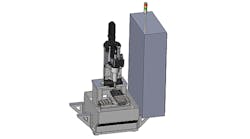
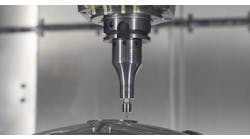
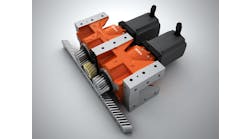
Nagel Precision Inc.’s SPV clamp bore gear grinder differs from conventional grinding operations, the accuracy of which depends on rigid fixturing as well as the accuracy of the grinding wheel’s position relative to the part. By contrast, the SPV uses free-cutting cup wheels, and the tool self-dresses and conforms to the contours of the part. This automatically compensates for inaccuracies in the machine. During this operation, the gear is clamped on the internal diameter of the bore and rotated in a direction opposite to that of the cup wheel at a high surface speed. To prevent variations in flatness or axial run-out when finishing flat surfaces, the cup wheel tool substantially overlaps the surface of the part during machining. The machine can remove as little as a few microns of stock to few hundred microns very quickly.
The clamp bore grinding machine has a output of one part every 12 seconds, however single-spindle SPV machines are available for lower volumes and high chaneover scenarios.
Sanjai Keshevan is the manager of the ECO Hone & Microfinishing Systems Division of Nagel Precision Inc. Conact him to learn more about hones and clamp bore grinders.
