By Phil Hanna, global product manager—machines for Sunnen Products Co.
When holes produced satisfactorily on lathes suddenly have to meet a process capability of 1.67 or 2.0 Cpk, turning operations may fall short. That capability requires a process that makes it easy to “dial in” high precision, and one that is extremely stable once it’s established.
Conventional honing has been hiding in plain sight for about 70 years, quietly and continuously being improved, refined and automated to make it accessible and capable for fulfilling twenty-first century part requirements. Today’s honing machines have become the “ten-millionths” solution for bore accuracy, enabling OEMs to meet a host of challenges, from diesel and small-engine emission requirements to overseas competition.
Manufacturers continuously tighten the dimensional requirements for parts to achieve greater performance from end products – higher power densities, tighter sealing, and reduced hysteresis, noise and vibration.
Diesel fuel injectors are a good example. Typical print tolerances today run 0.000051 in. straightness per side on the bore, 0.00004 in. taper in the bore, and 0.000051 in. roundness. Manufacturers in production mode strive for less than 0.00004 in. on total measured bore variation when using scanning air gages, with roundness less than 0.00002 in. They match fit plungers with 0.00024 in. to 0.00028-in. clearance, with a 0.00004-in. total tolerance on the fit.
Surface finish parameters for these parts include Rz, Rvk, Rpk, Rk, and so on. As the match clearances shrink, surface tribology and retention of a lubrication film become more critical. And, overlaying the need for precision is the requirement for high process capability, an area where servo-controlled honing shines.
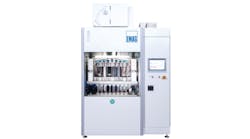
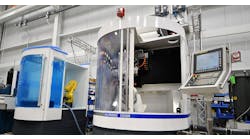
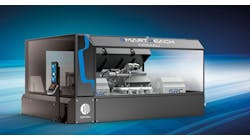
These honing machines use closed-loop tool-feed mechanisms to control hole size to accuracies of 0.000010 in. automatically, using air-gauge probes adjacent to each spindle. Such a system performs with minimal variability – key to high process capability – and no operator intervention while producing thousands of parts. They also optimize bore shapes, sizes and surfaces, all in one setup and with process capabilities of 1.67 Cpk or greater and downloadable SPC data.
Advanced computer-controlled honing systems can correct any errors in bore geometry too, such as barrel, taper and centerline bow, while optimizing lubrication with a crosshatch finish. Windows-based controls embed all the “art of honing” that’s long been associated with the manual process. Even the crosshatch angle now can be dialed in at the control then held constant from top to bottom in the bore. That is done through servo control of spindle rotation and stroking motion. An air-gauge-equipped machine can sense a misshapen bore, such as one that is barreled or tapered, and the machine then will correct the part automatically. Integrated with other servo accessories, such as rotary tables, linear feeds, pick-and-place or robot handling systems, one machine now can process 15 million or more parts per year, running unattended.
