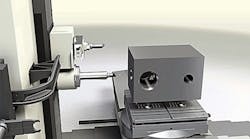
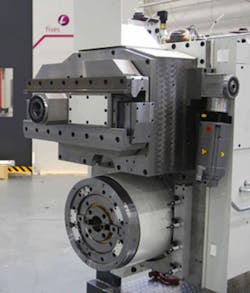
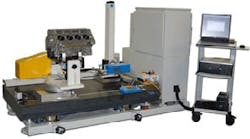
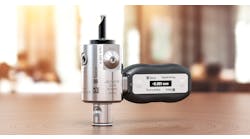
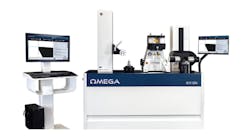
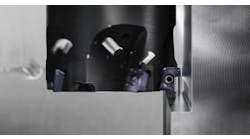
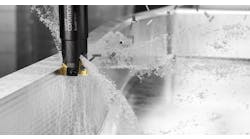
The features are the same, but the dimensions of the parts — up to 980 mm I.D. (38.6 in), 780 mm O.D. — make all the difference for the new Giddings & Lewis boring mills designed and introduced by Fives. The change is the result of an integrated, 56-kW (75-hp) contouring head that allows the machine to produce larger turned features than ever were possible on a boring mill.
"The part types have not changed — they are just larger, thus driving the requirement for larger turned features produced with high accuracy," stated Pete Beyer, director of Product Strategy and Development at Fives Giddings & Lewis. "This extended travel exceeds anything we could do in the past with a separate contouring attachment, which requires significant operator intervention, a head changing system and a storage solution as well."
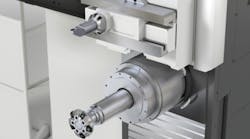
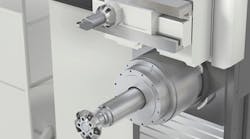
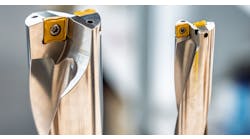
The new contouring head has a standard Kennametal KM80™ or Sandvik Coromant® Capto C8 interface, which reduces tooling costs. It loads tools via the machine's automatic toolchanger for faster processing without operator involvement.
The head accommodates tools up to 600 mm (23.6 in) long, weighing up to 18 kg (39.6 lbs). It can produce features with repeatability of ±0.005 mm (±0.0002 in) and accuracy of ±0.015 mm (±0.0006 in). In addition, the live boring spindle can use 50-taper tools as long as 750 mm (29.5 in), and an auto-coupler provides the interface for feedout tools, such as programmable boring bars.
The contouring spindle's U-axis slide stroke of 440 mm (17.3 in) provides the ability to produce small- or large-diameter features in a single setup on a boring mill, without head changing or manual intervention, allowing complex features to be machined with greatly reduced cycle time and labor.
The contouring head can produce features such as bottle bores, valve seats, seal faces, phonographic sealing surfaces, O-ring grooves, straight/tapered threads, chamfers, external profiles and others.
"Some customers are interested in moving turning operations from a turning center to the boring mill with integrated contouring head," Beyer explained. "If the percentage of turning versus milling is small or the part is difficult to fixture or highly unbalanced, it makes more sense to do turning operations by spinning the tool on a boring mill than by spinning the part on a lathe."
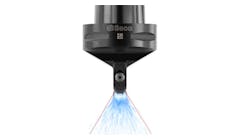
The contouring spindle is located immediately above the machine's live spindle, but slightly offset in the Y and W/Z axes to avoid tool interference. A touch probe can be used in the boring spindle or on an auxiliary arm for in-process or post-process measurement of part features machined by either spindle. Standard services, such as coolant supply with high pressure 40 bar (580 psi), are plumbed through the contouring head to eliminate manual intervention and ensure maximum tool life.
