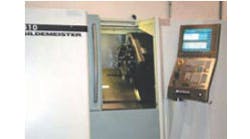
Hamilton-Sundstrand of Grand Junction, Colo., machines complex housings and forgings for aerospace fuel-handling systems, auxiliary power units (APU), and wing-flap-actuation systems. Most of these parts require 4 and 5-axis CNC equipment to produce the typical tight aerospace tolerances of 0.001-in. true positions, 0.0005-in. diameters, and 0.002-in. surface profiles. To ensure all its machines are up to snuff for such precision work, the shop uses the latest probe and calibration technologies from Renishaw.
On Hamilton-Sundstrand's Kearney & Trecker HMC, for example, a Renishaw MP3 probe aligns fixtures and parts for the boring of two holes. Both holes are dimensioned from a datum bore machined on a lathe and located on the backside of the part, nearly 12 in. away along the Z axis. For this part, the probing program automatically downloads the fixture offsets and aligns the workpiece in all three axes prior to machining.
The 20-min machining operation heats the machine tool, resulting in linear expansion of its geometry. To compensate for this naturally occurring error, operators re-probe the part before finish cutting. This recalibrates all the axes to the machine's operating temperature.
Probing time is short because the routines are defined internally to the CNC program. Each probe cycle takes less than 2 min and guarantees part tolerances.
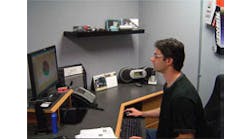
After completing the first part, Hamilton-Sundstrand personnel inspect it on a DNC Sheffield CMM to verify that machine tool setup and probing routines are adjusted to optimal settings. The CMM sports a Renishaw TP20 probe fitted to a motorized PH10 probe head to reach all peripheral features and bores in a single setup.
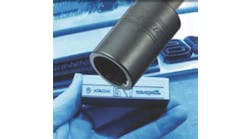
At the first sign of nonconformance in parts, Hamilton-Sundstrand checks a machine's parameters using a Renishaw QC10 ballbar. Testing takes 20 min and checks 14 different geometric parameters in each of the three machine planes — XY, XZ, and YZ. The QC10 tracks machine movement to ±0.5 µ, has a resolution of 0.1 µ, and identifies errors in servo mismatch, linear compensation, squareness, and axis backlash.
Periodic ballbar checks save maintenance personnel days when troubleshooting and reduce unscheduled downtime by tracking trends in machine performance. So, problems are fixed at regularly scheduled times, not during production runs.
While ballbar monitoring is effective, it does not provide all the information necessary for an in-depth machine evaluation and calibration. For example, the ballbar identifies scale-mismatch, or linear-compensation error, but it does not provide the means to compensate. For this, Hamilton-Sundstrand uses a Renishaw ML10 laser-calibration system. Its 0.1-ppm accuracy and 1-Nm resolution let the laser precisely evaluate linear and angular movement along a machine axis and measure, adjust, and verify pitch and yaw errors.
One of the most important features of Hamilton-Sundstrand's laser and ballbar systems is integrated software. Both software packages, written in similar formats, include step-by-step prompts for quick and easy operation and data interpretation.
Renishaw Inc.
Hoffman Estates, Ill.
