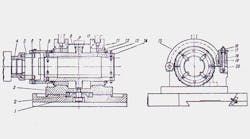
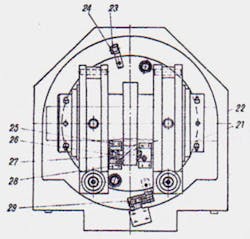
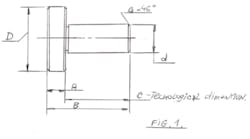
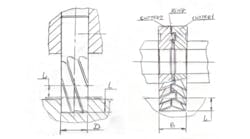
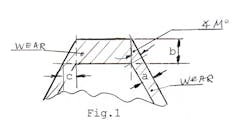
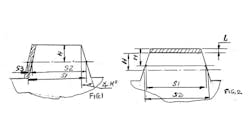
This is an original design for a grinding device for two holes in the bushing of a machine tool, originally designed by G. Kokoshkin and I. Kaganovich (see Figures 1, 2, and 3.)
After preliminary treatment and heat treatment, the grinding operation proceeds via two holes on each side of the bushing.
The bushing is located in the barrel (14), mounted by four brass screws (15) and set up by one micron on the two sides, so that we have eight screws, or four screw for each side.
The barrel (14) has part P fixed in position on the axis, X. Part 14 rotates from the spindle, parts 4, 5, 6, 7, 8. Part 6 is string.
The barrel rotates in the two brass bearings (12), each one consisting of the two halves.
Bearing 13 is mounted in the base (3) and can be rotated 180 degrees near ring (2) for grinding the second hole, with stoppers 23, 24, 29, and two screws.
All parts are mounted on housing 1, which is mounted on the support of the machine tool for the inside grinding holes.
The main features of this device are:
1. Orientation by eight screws, for corresponding to two axis of the two holes by 1 micron;
2. Rotation through 180 degrees by 1 micron; and,
3. All details involved in the process must be handled with high precision.
