Automotive supplier Katayama American Co. needed to integrate a robot and a 3D sensor to perform 100 percent in-line inspection of as many as 12 features on each of the four doors of an upcoming new program for an automotive OEM. Traditional measurement systems were not flexible or fast enough to handle the part volume and cycle time required by the new program.
In addition, Katayama demanded that the system duplicate the results of critical hard fixture measurements.
The end product would be capable of producing the same measurements for any given door, whether measured by the flexible measurement system or the hard fixture. The company also had to have excellent system accuracy and repeatability, and had to take into account the daily and seasonal ambient temperature changes at Katayama’s plant that could cause the robot’s repeatability to fluctuate over time.
The solution came from Dynalog Inc. (www.dynalog-us.com), a company that specializes in the precision robotic applications used in flexible manufacturing. Dynalog’s calibration technology enabled Katayama to use standard components such as the robot from Motoman for high-precision metrology.
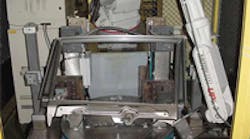
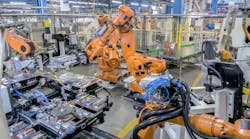
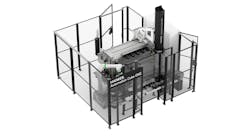
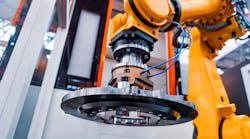
Dynalog configured two individual measurement cells that had a Motoman UP20-6 robot and an LMI SRS-100 sensor in each cell. Dynalog calibration, metrology interface, and LMI vision software was installed on the PC for each system.
The company programmed the system to measure the inspection features of each part while performing automatic calibration between cycles. Calibration is achieved by measuring reference points placed inside the flexible measurement system’s cell.
Dynalog’s calibration software uses the data to establish initial absolute accuracy, and repeats the process to maintain this accuracy. The system monitors any change in the robot, sensor location or in the fixture, such as alignment, and automatically corrects it.
In the short term, the Dynalog flexible measurement system provides value as a cost-effective, flexible in-line measurement tool that is competitively priced compared with other measurement technologies, and correlates well to hard fixtures.
In the long term, the flexibility of the system allows Katayama to re-program the system for new products, or for changes to existing products at a low cost. With the integrated automatic calibration technology provided by Dynalog, the system constantly monitors its accuracy and adjusts for changes due to temperature or to a crash of the system. Corrections occur automatically in the background. Plus, as a supplier to several automotive OEM customers, Katayama requires a high level of flexibility.
Fixed measurement systems are expensive and are useful only for a single product. Robotic FMS provides Katayama with a measurement tool that can be reprogrammed as measurement requirements change.
